Printing photos on UK train tickets
0. Table of Contents
- 0. Table of Contents
- 1. Introduction
- 2. The template
- 3. Initial attempts
- 4. The matte solution
- 5. Print settings
- 6. What’s next?
1. Introduction
My dad was getting rid of our old printer the other day (for various reason among expensive ink), and I remembered a TikTok I saw a while ago and was inspired, so I commandeered the printer - but first I had to get more black ink!
It turns out you don’t have to pay the ridiculous price for printer ink, you can just refill it yourself. I found a kit for refilling the cartridges in a Canon TR4551 for £16 shipped on eBay, and low and behold, it worked.
2. The template
A standard UK train ticket measures 85.6x54mm, and has a top border height of 8mm, and a bottom one of 11mm. I hopped into Affinity and create a ‘ticket’ that I could use as a template aligned to the centre.
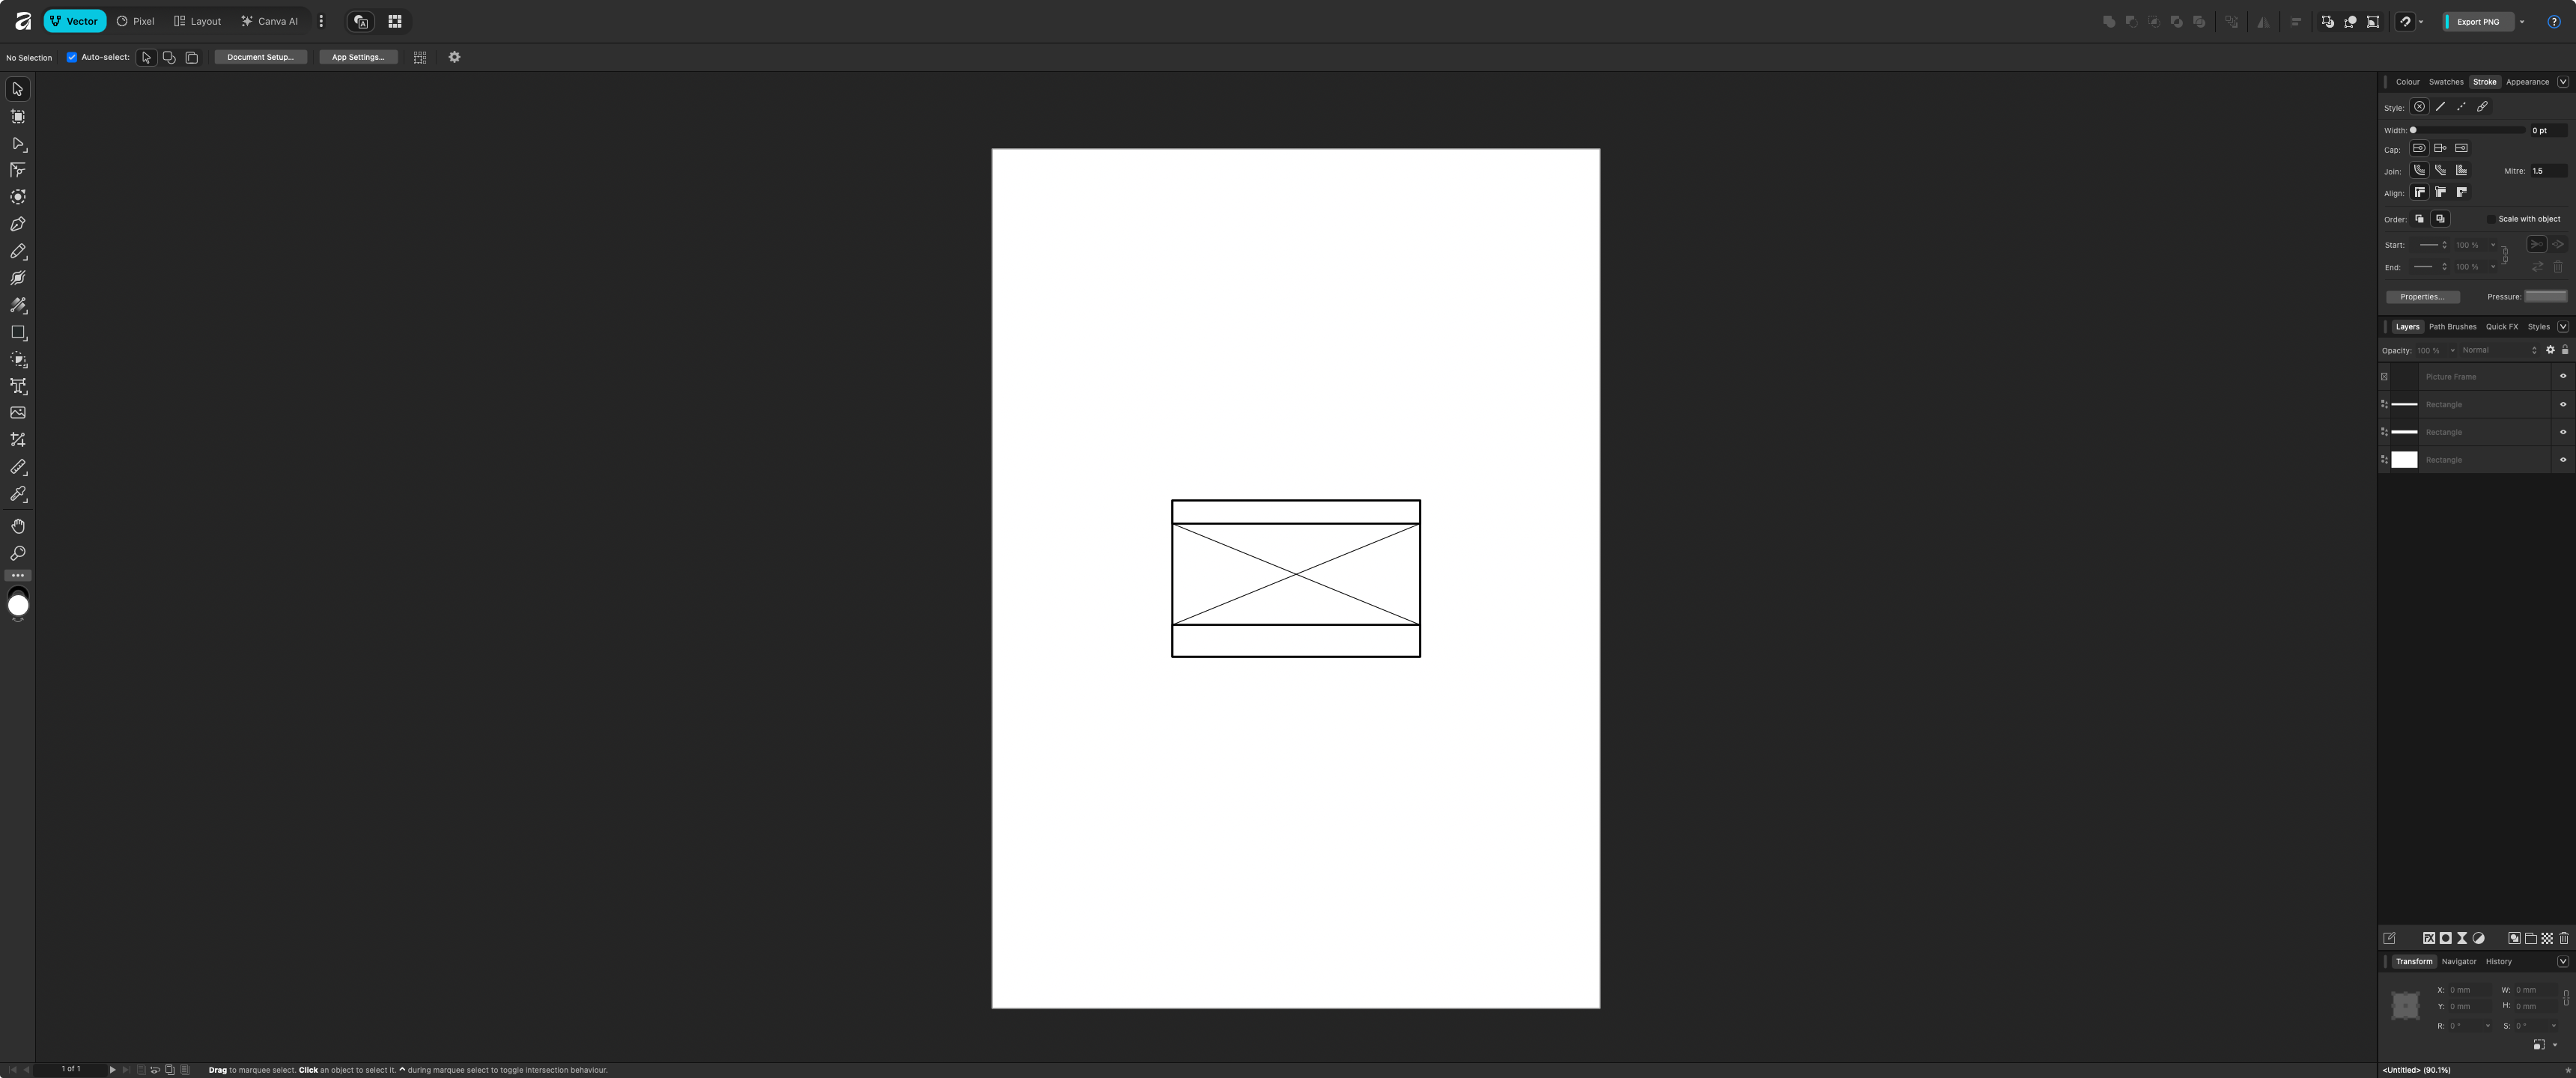 The ticket template in Affinity
Using a picture frame in the middle allows me to quickly sub out images, and they all fit in the same space on the ticket. Download the Affinity file to try yourself - don’t forget to hide the layers with the borders on before printing, otherwise you’ll end up with them on your final ticket.
3. Initial attempts
Originally, I thought I could just print out the template, stick the tickets down and hope for the best - I was wrong. My initial attempts took about 48 hours for the ink to go even tacky; I don’t think they’ll ever dry fully.
To stick the ticket to the template, I opted for the lowest tack masking tape I could find, but it still somehow ruined the ticket. Instead, I’ve started looping tape around and putting it on the back of the tickets instead.
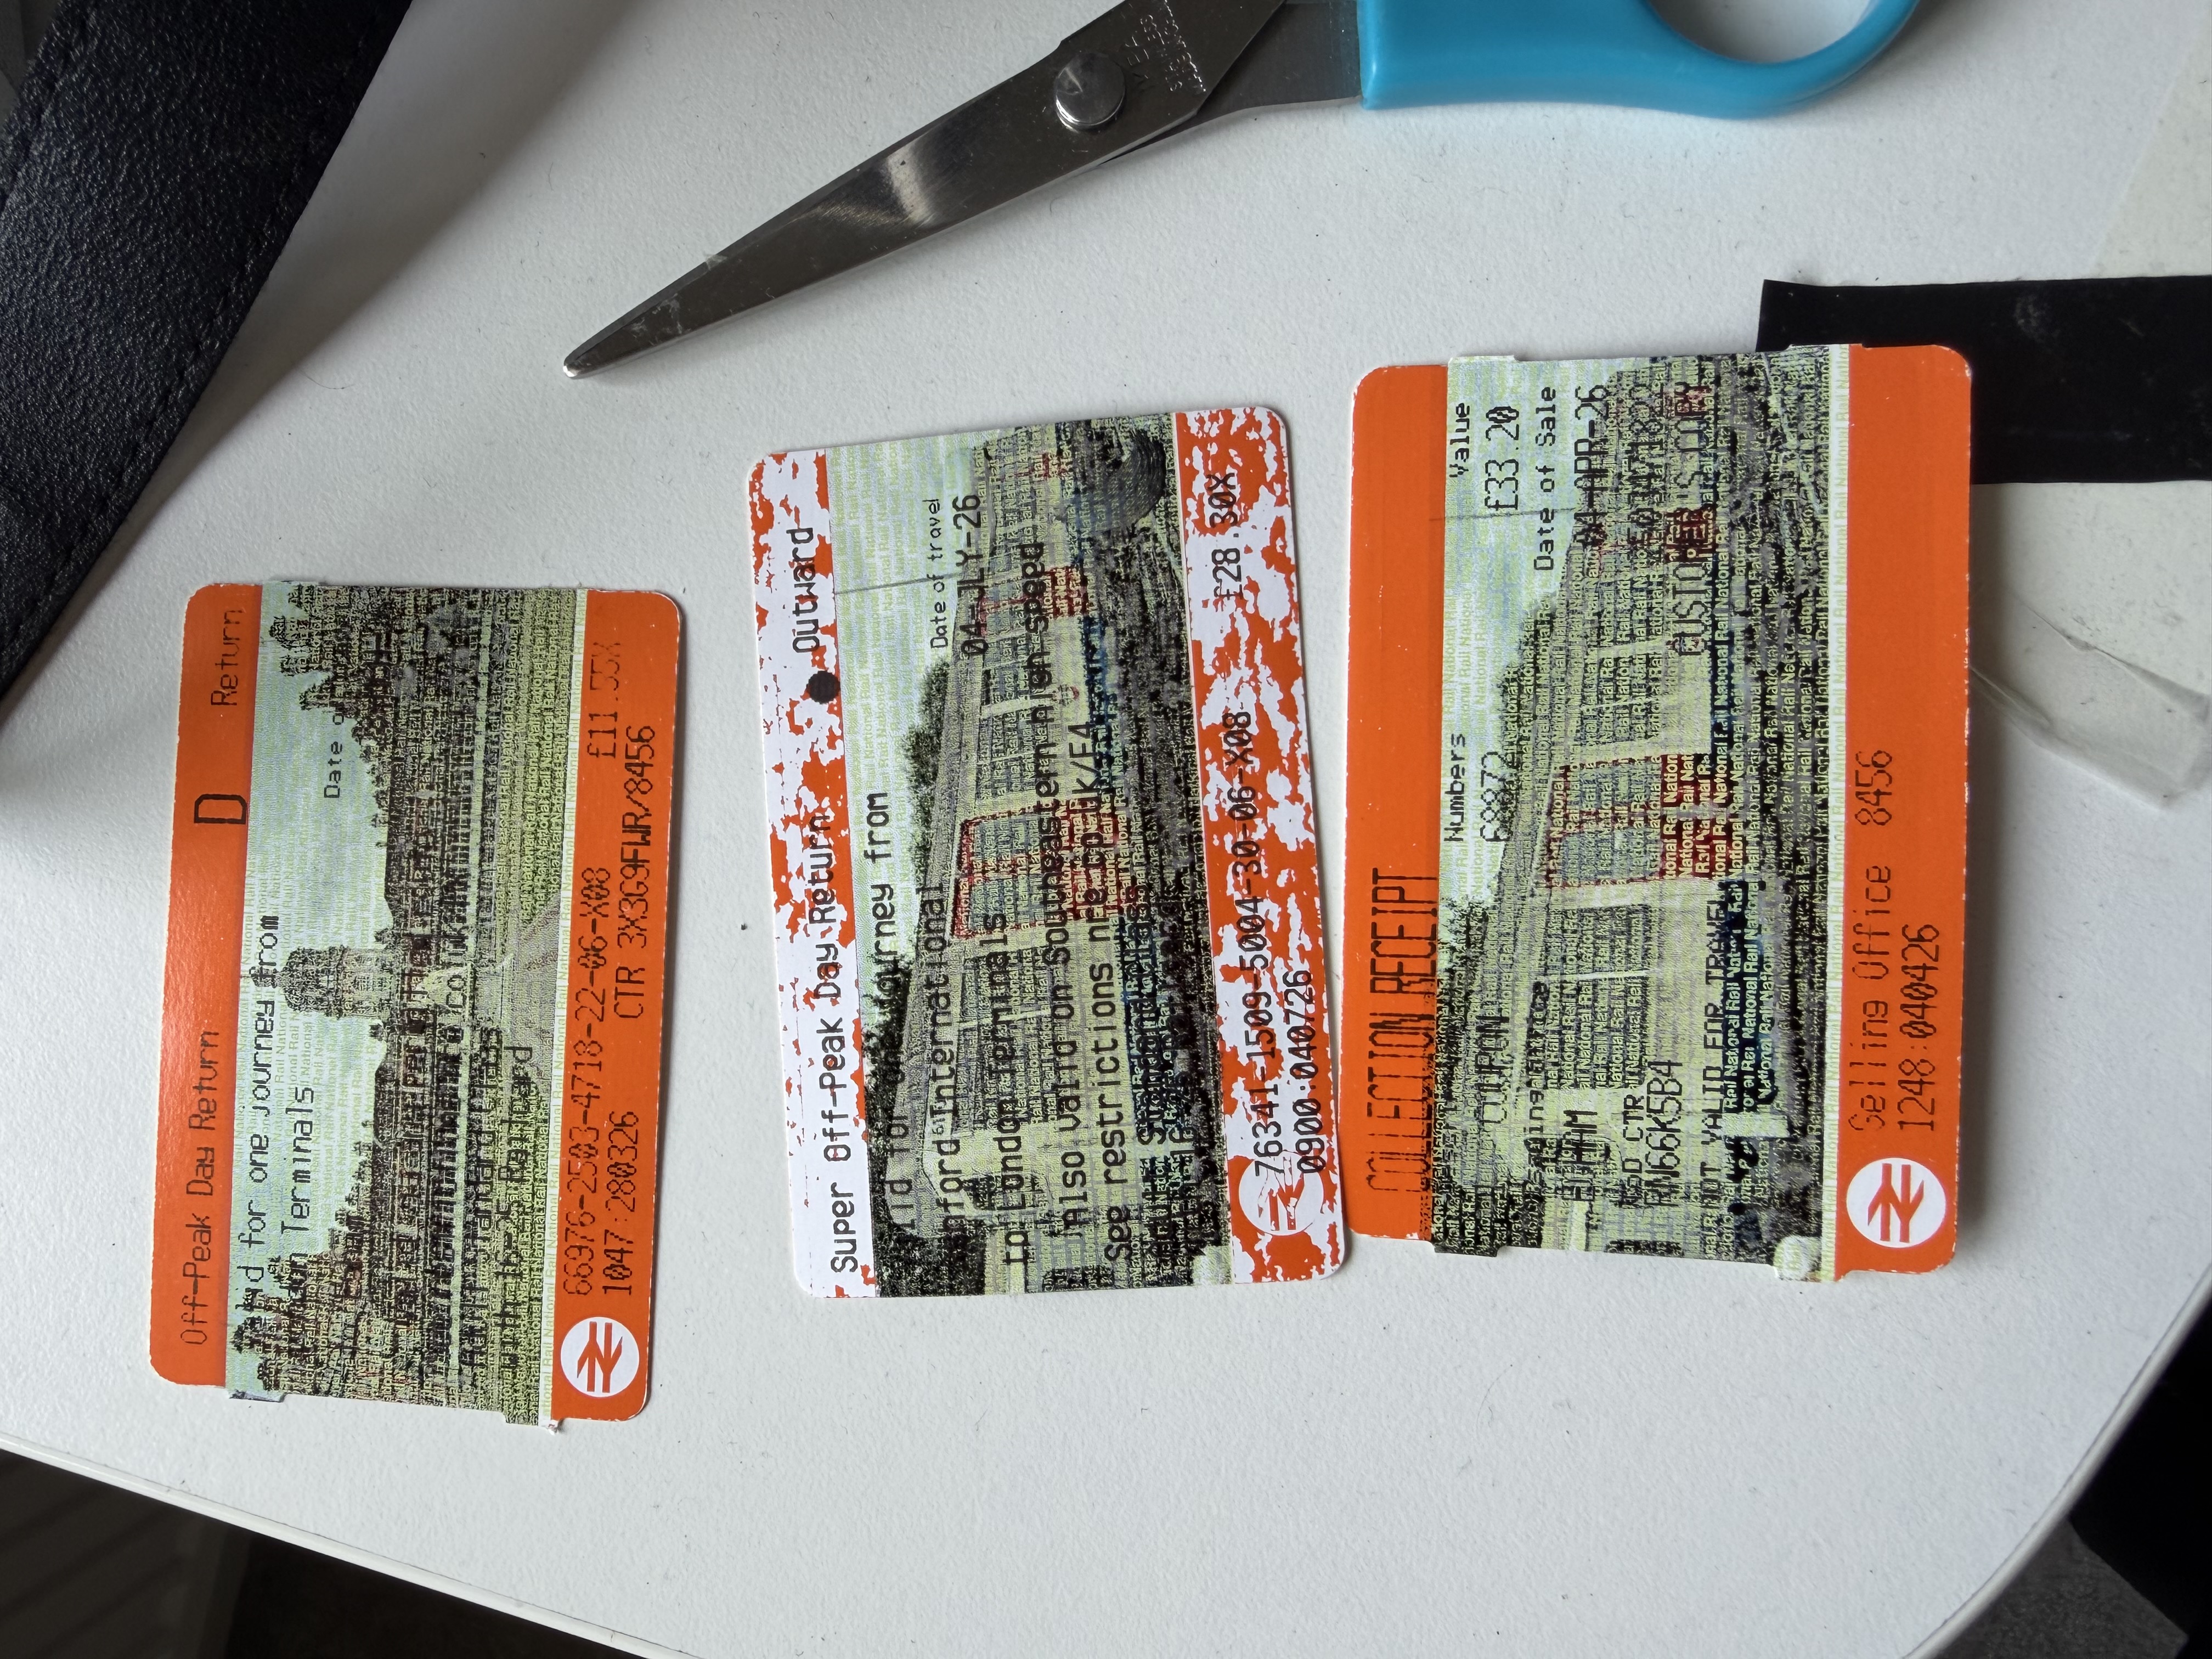 Three first attempts. The middle being the one that was ruined by the tape
You can see in the photo that toward the bottom of the bottom two tickets, the black ink looks very wet compared to everything else - and even a smudge mark on the middle one!
4. The matte solution
After realising that the ink wouldn’t dry, I turned to Amazon to see what I could find. I was looking for some sort of undercoat that dried matte to give the ink a surface to bind to. From my very short search, I found Winsor & Newton 3040821 Galeria Matt Medium - 250ml, along with a pack of the cheapest foam brushes I could find.
I have now simply started painting the tickets with a layer (or two, see below), and leaving it to dry fully before printing. It only takes about an hour, but the tickets start to curl, so the need slightly bending along the vertical to keep them more flat.
5. Print settings
This is where I started to get confused. I refuse to install the official Canon printer drivers, because why can’t I just plug in via USB and press print?
The issues with the black ink was that it started to pool in certain sections, so less ink was needed; draft mode would be the answer. Either the TR4551 doesn’t have a draft option, or I need the drivers to reveal this option.
CUPS (the Common UNIX Printing System) on macOS also limits what you can do to the custom PPD config file for the printer. Debian, of course, does not limit this. I had to now start printing via Debian, as I added a custom half resolution default profile (300DPI as opposed to the original 600DPI).
In /etc/cups/ppd/Canon_TR4500_Official.ppd, I removed the current resolution properties, and replace it with this
*OpenUI *Resolution/Output Resolution: PickOne
*de.Translation Resolution/Output Resolution: PickOne: ""
*fr.Translation Resolution/Output Resolution: PickOne: ""
*zh_CN.Translation Resolution/Output Resolution: PickOne: ""
*ja.Translation Resolution/Output Resolution: PickOne: ""
*DefaultResolution: 600dpi
*Resolution 300dpi/300 dpi (Draft Mode): "<</HWResolution[300 300]>>setpagedevice"
*Resolution 600dpi/600 dpi: "<</HWResolution[600 600]>>setpagedevice"
*CloseUI: *Resolution
Once restarting the CUPS service, 300DPI is now the standard, and there’s now an option in the KDE print dialog for resolution - either 300 dpi (Draft Mode) or 600 dpi. Below is a comparison of normal quality vs. draft, and the difference in matte layers.
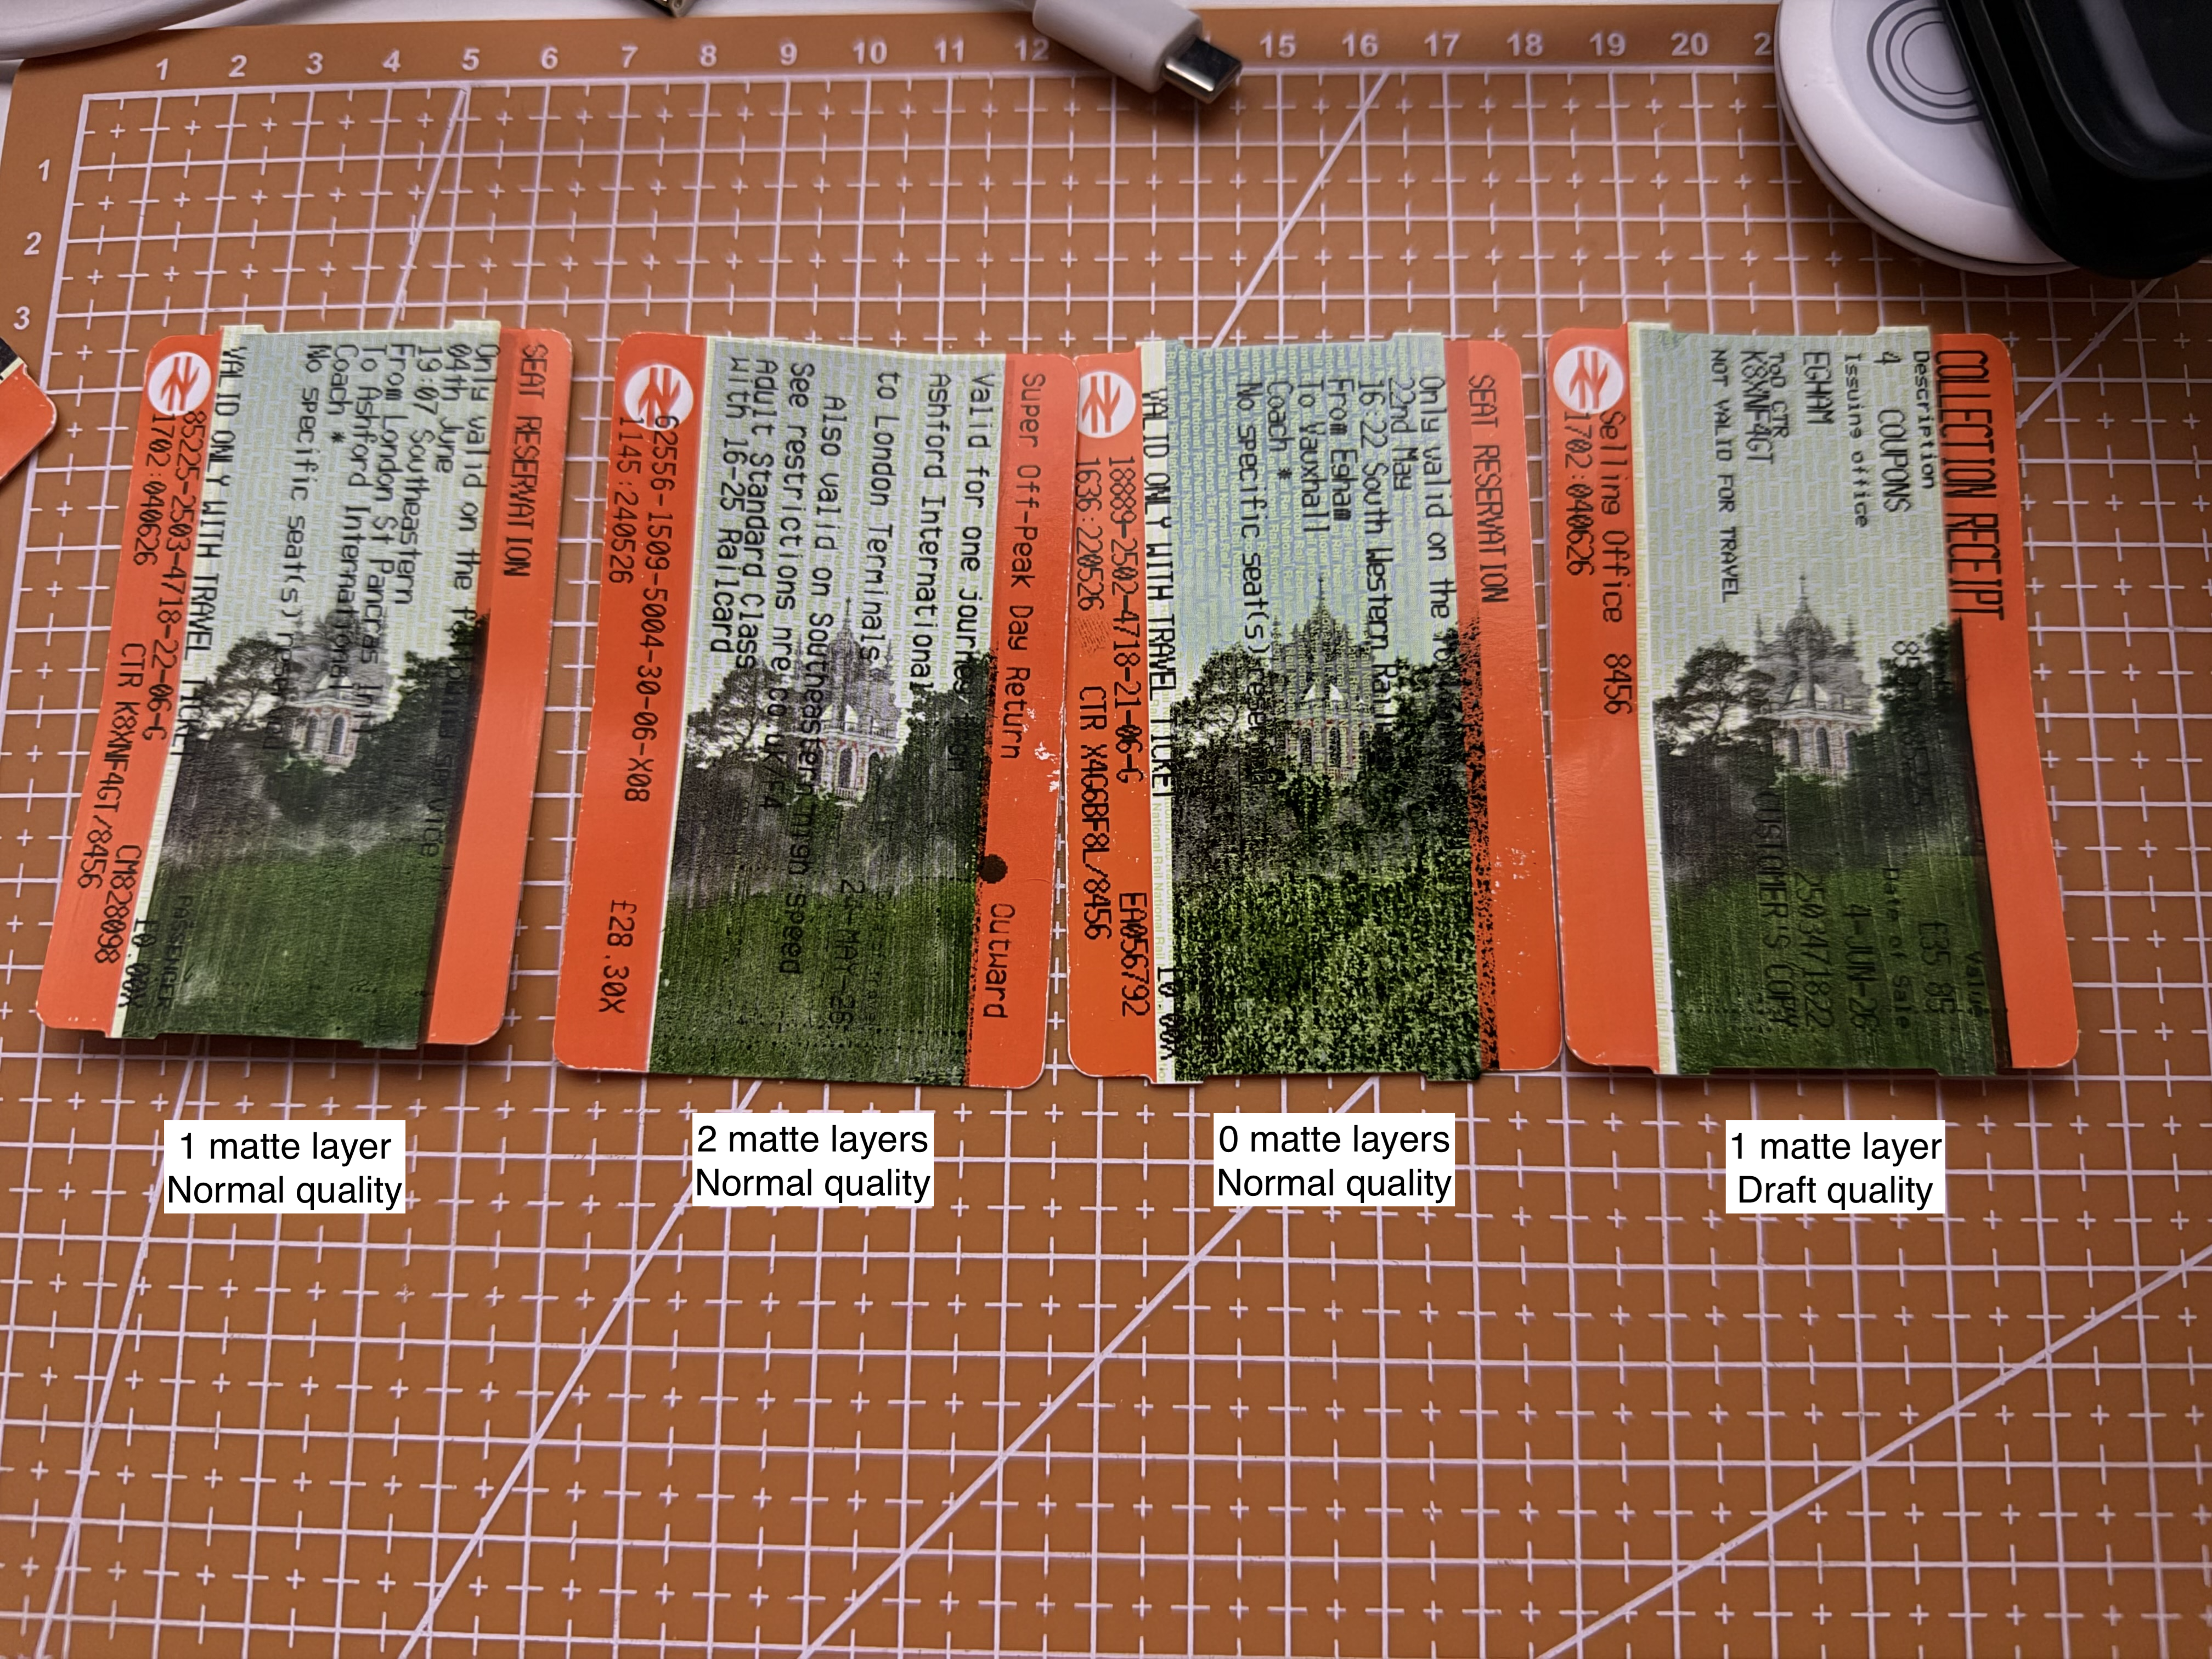 A single matte layer and draft quality seems to be working best - its less patchy than normal quality
6. What’s next?
As I write this, I’m waiting for 16 more tickets to dry with their matte layers, then I can do some more testing with it. I want to make some sort of “art” piece showing pictures of Holloway’s campus on Egham train tickets - just an idea that’ll be fun to see how it pans out.
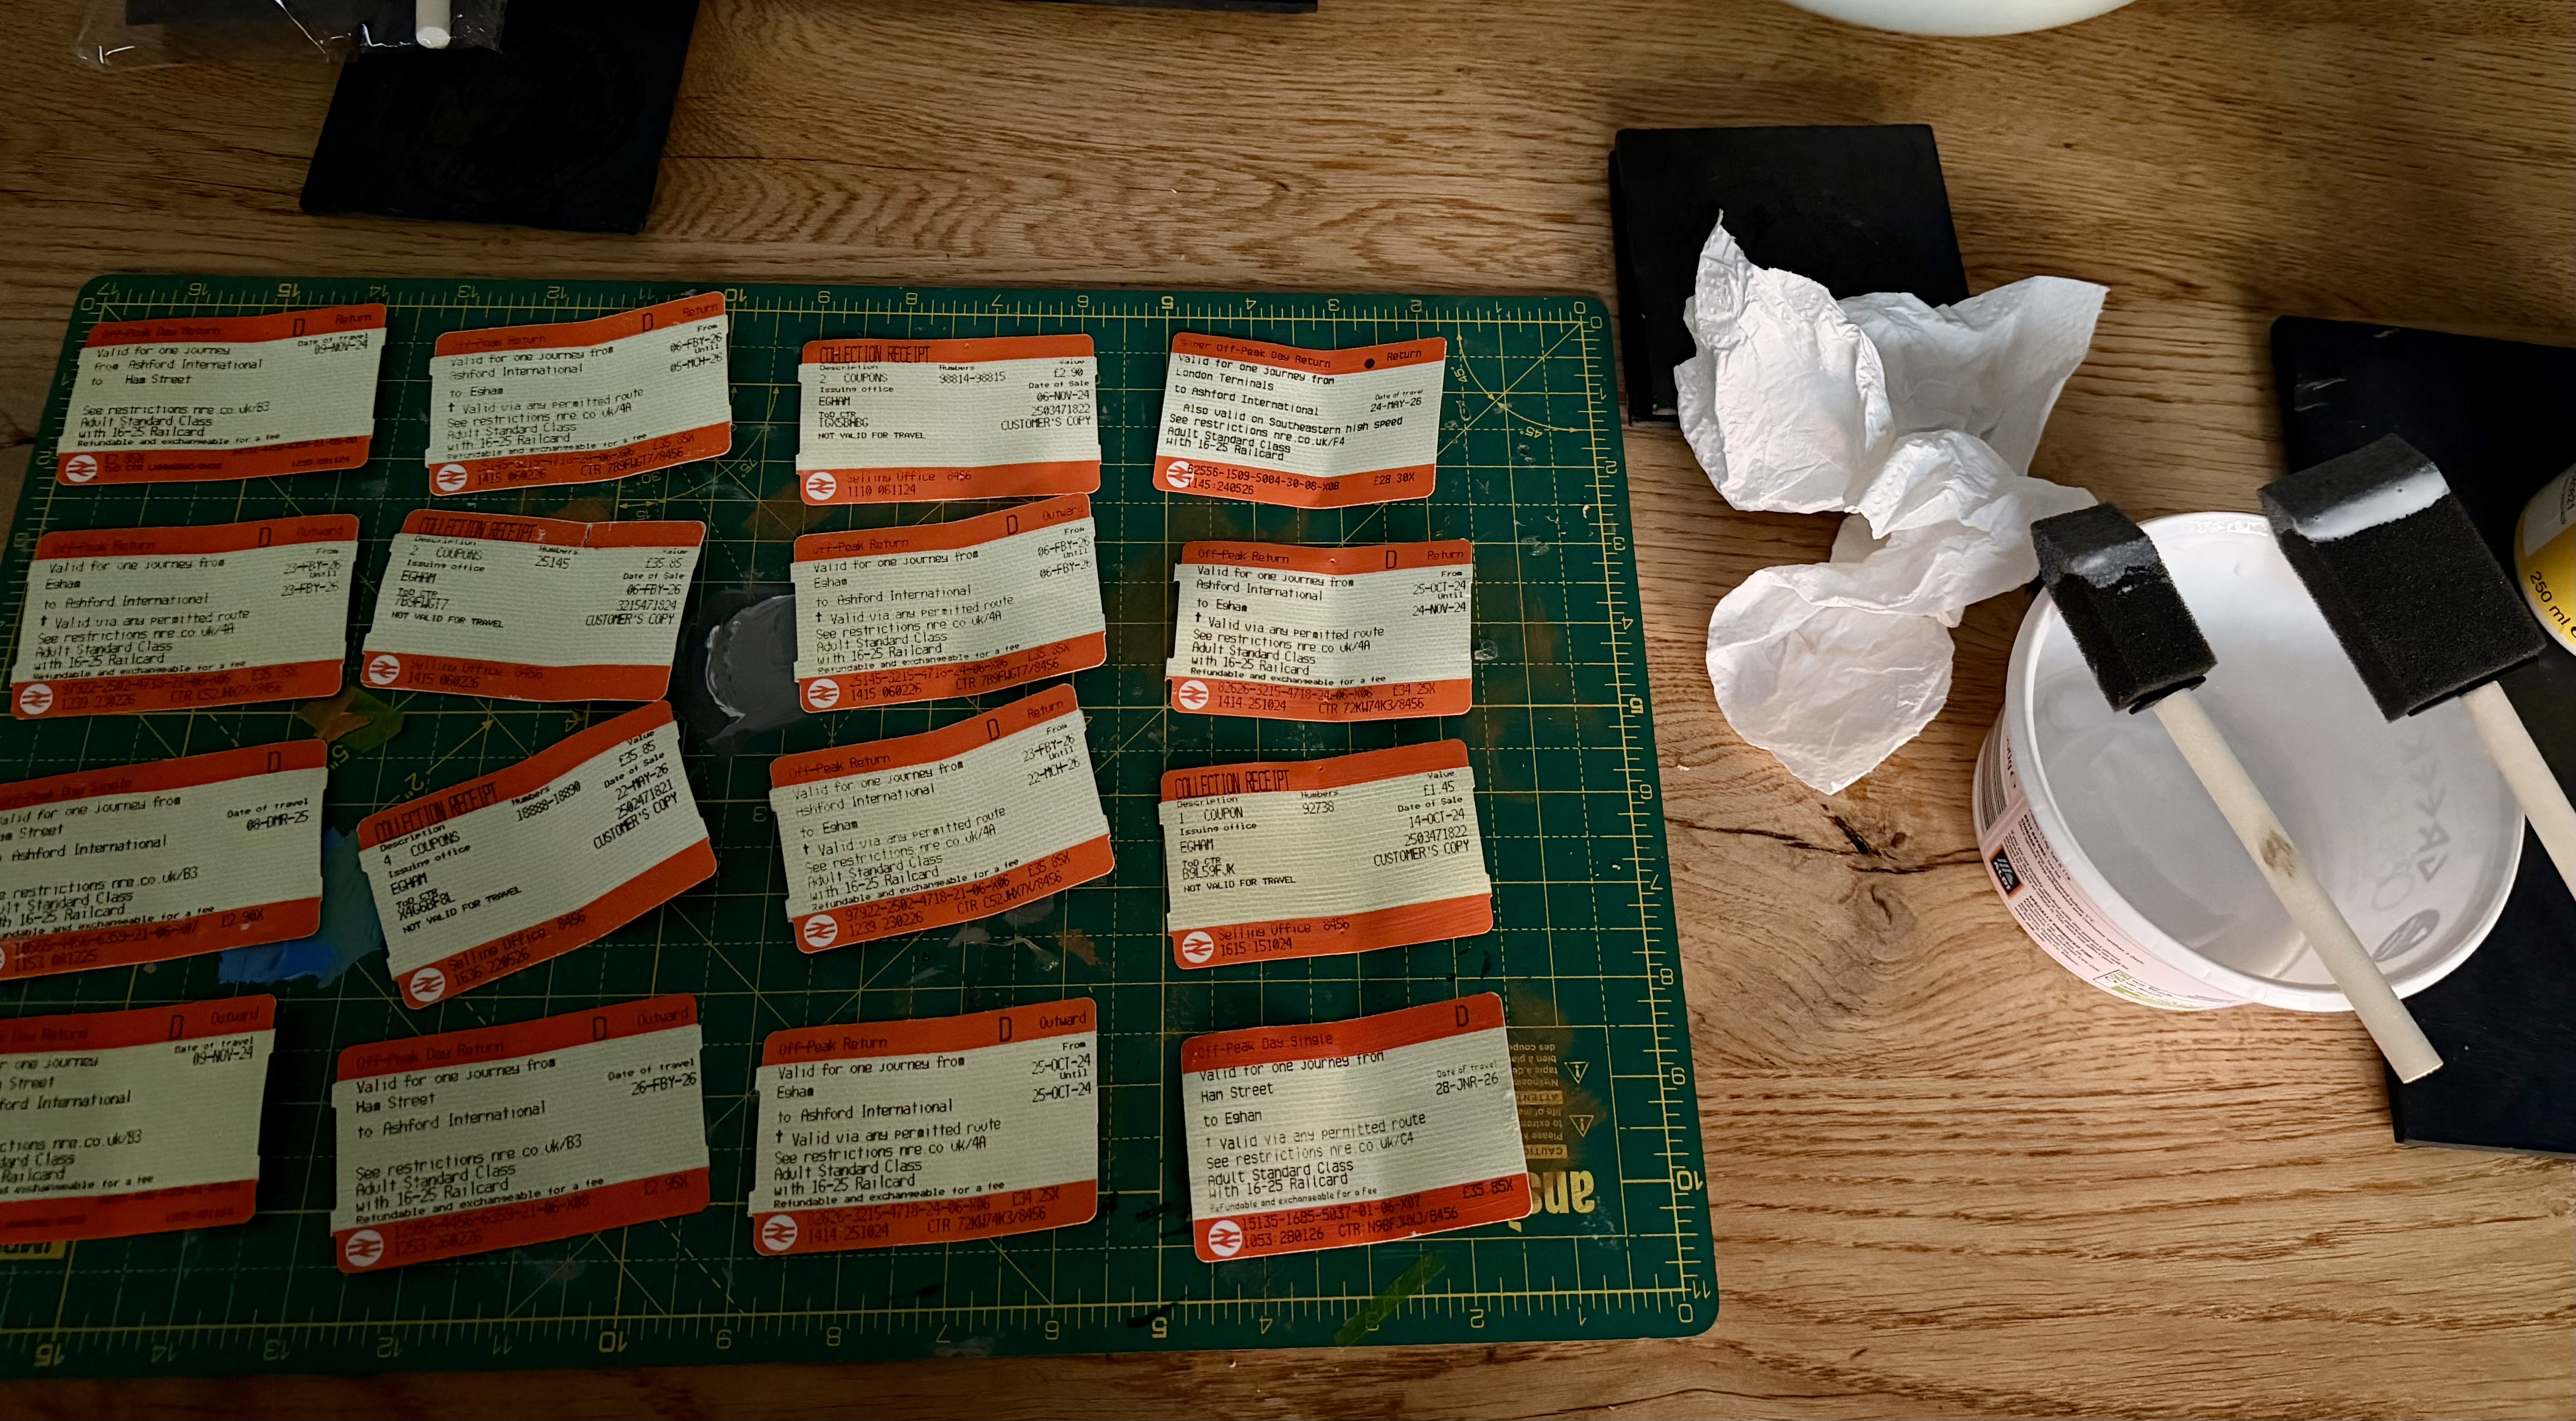 16 tickets drying
Thank you for reading my first blog post! :) I can’t guarantee it’s of best quality as I am a Computer Scientist, not an English student, but I hope it is still easy enough to follow along. Any questions, feel free to send them my way ck@charliekingsland.me